


We often have to explain the analytics basics to game developers who have never implemented any specific SDKs into their apps.
There were some instructions on the Internet, but they didn’t comply with our requirements, so we decided to create our own how-to and make it public.
We usually insist on installing Facebook and Adjust SDKs, so here are the step-by-step guides for both.
Facebook Developers SDK & Facebook Analytics
Facebook SDK is vital for you to promote and work on all of the app analytics. Besides, Facebook SDK is necessary for sharing the app to different Facebook business accounts & ensuring the user acquisition campaigns’ optimal performance
Checkpoint 1: Register your app in Facebook Developer Console.
- Go to https://developers.facebook.com
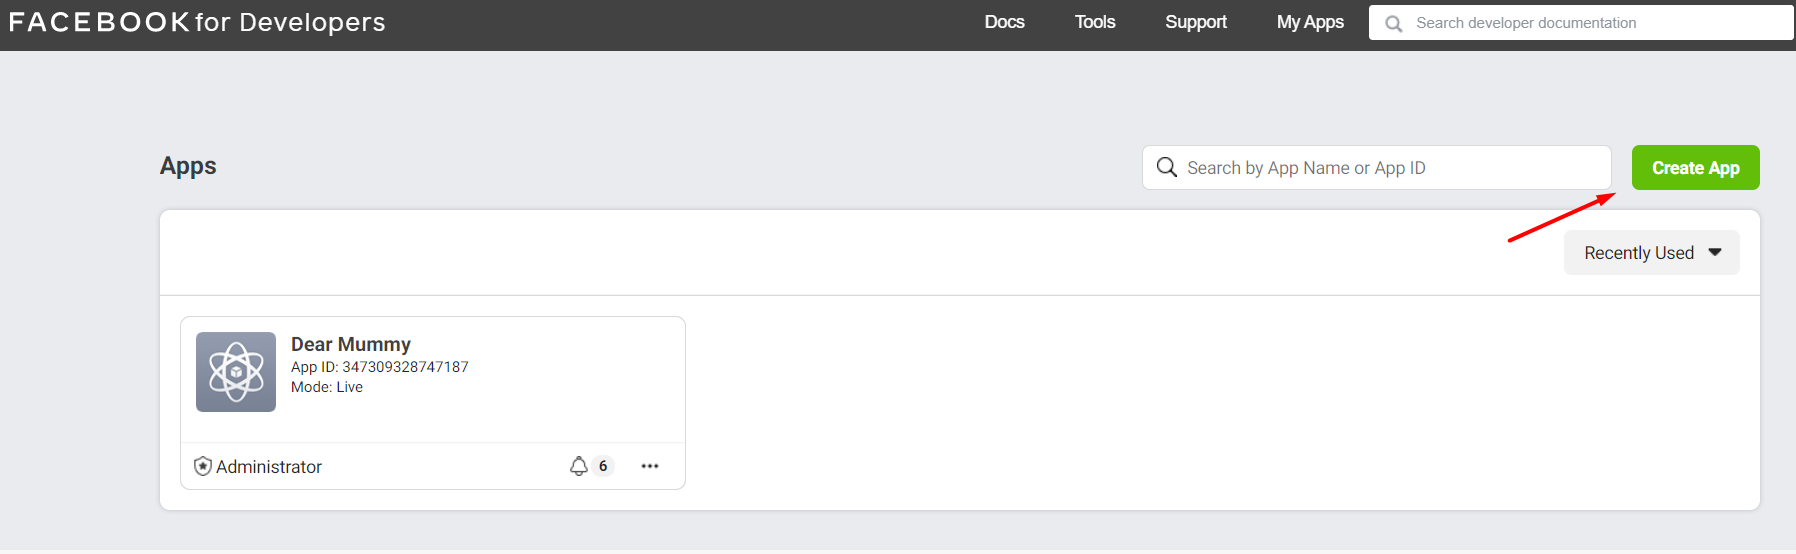
- Choose “My Apps”:

- Click on the “Create App” button:
- Choose “Manage Business Integrations” (by default):
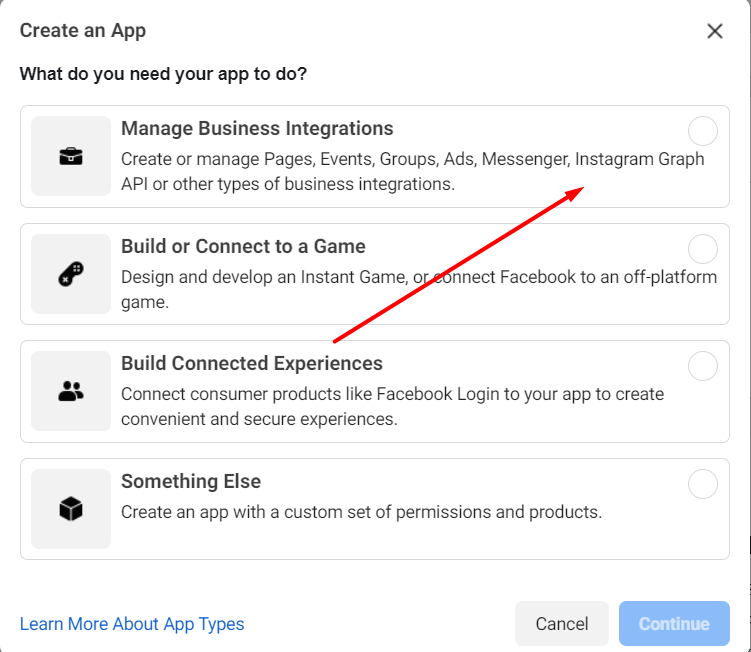
- Fill in App Display Name (name of the app), App Contact Email (your email), App Purpose (tick “Yourself or your own business”), choose your Business Manager account (if you have one, if don’t – just leave it empty):

- Click on the “Create App ID” button:

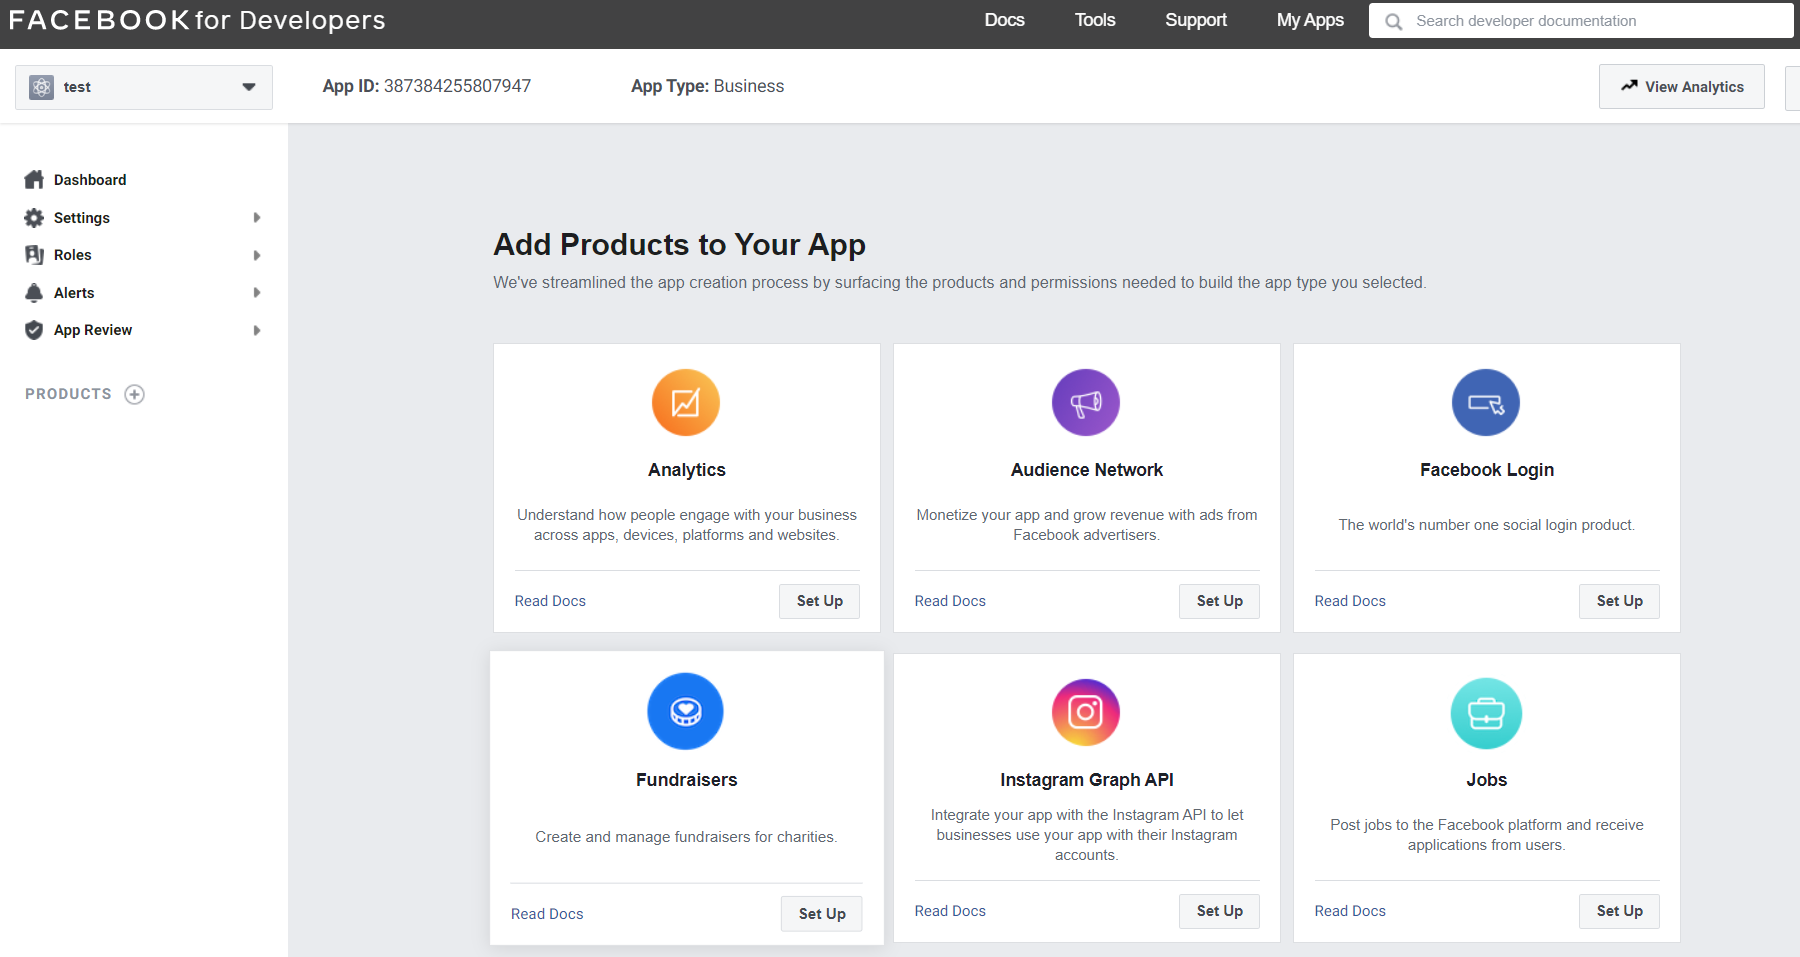
- Once your app is ready, you’ll see the App Dashboard:
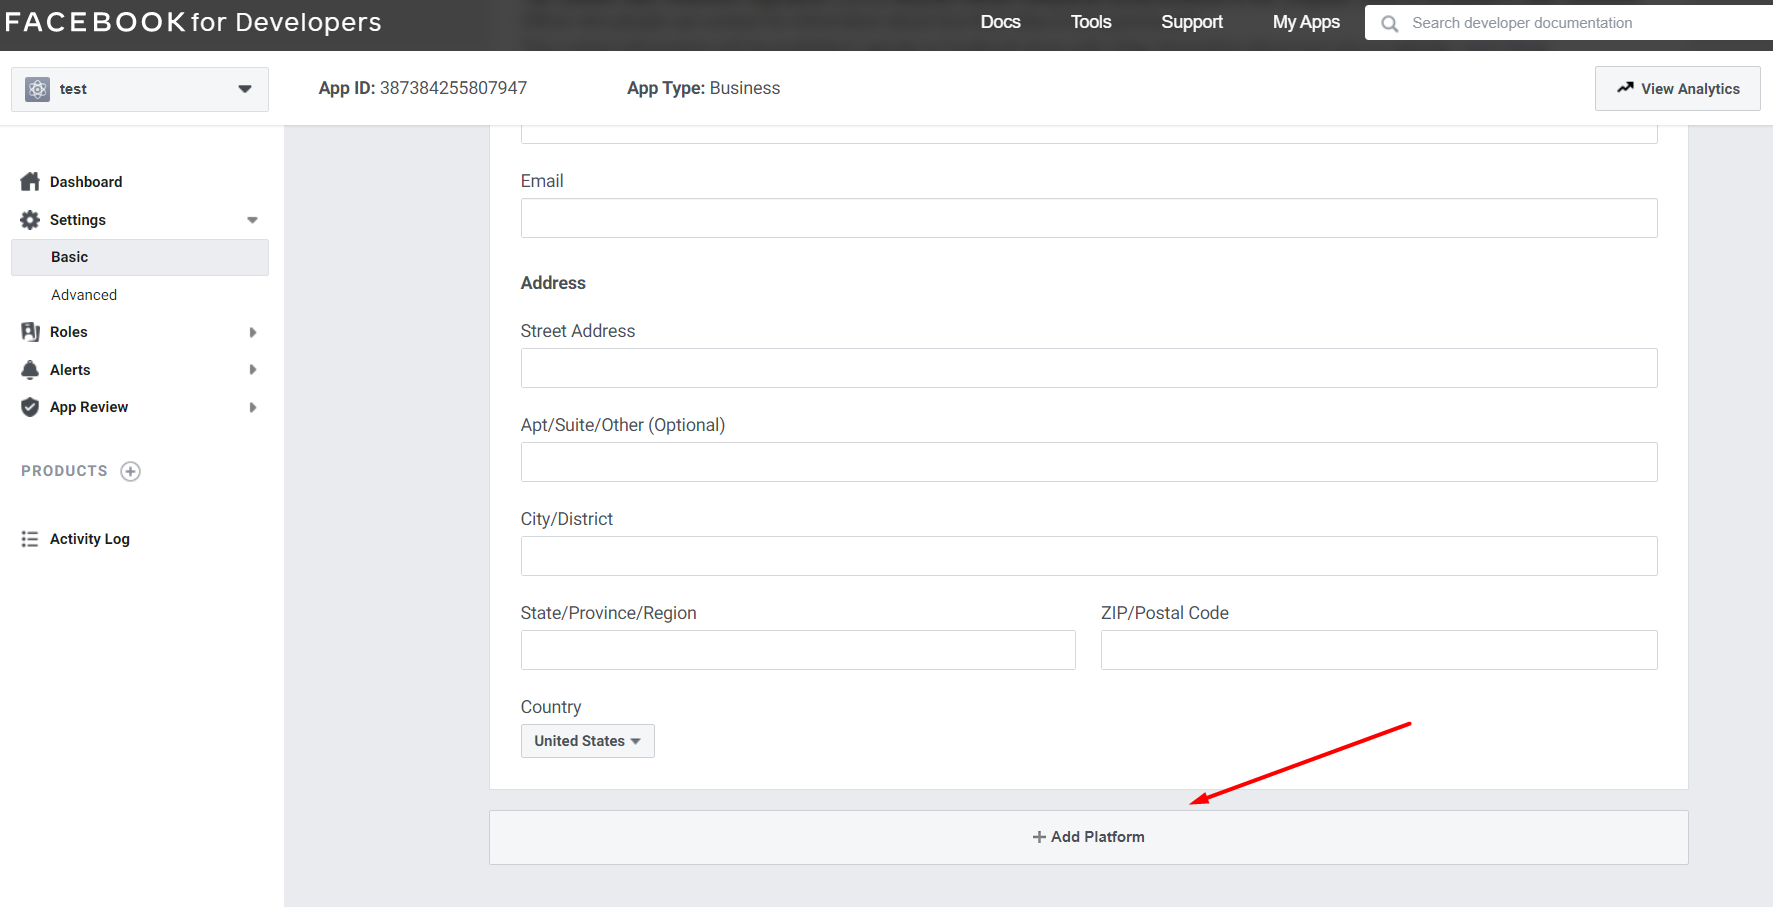
- Go to Settings – Basic:
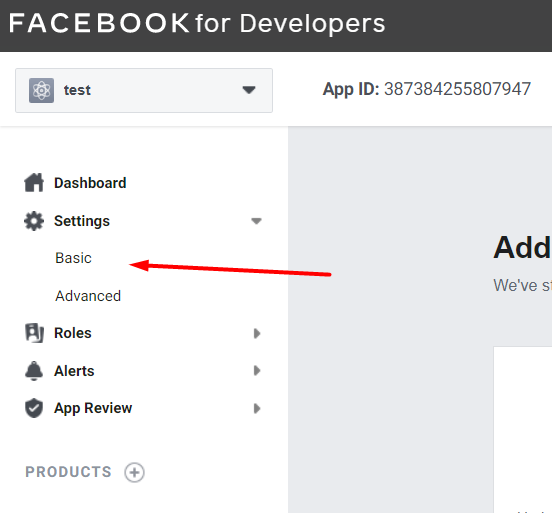
- Fill in all the required info on your App & Company including Privacy Policy URL, Terms of Service URL, choose the category, etc.
- Go to the bottom of the page and click on “+ Add Platform”:
- For Android choose Android 🙂 and fill in the corresponding info on the app – e.g. Google Play Package Name and other info:
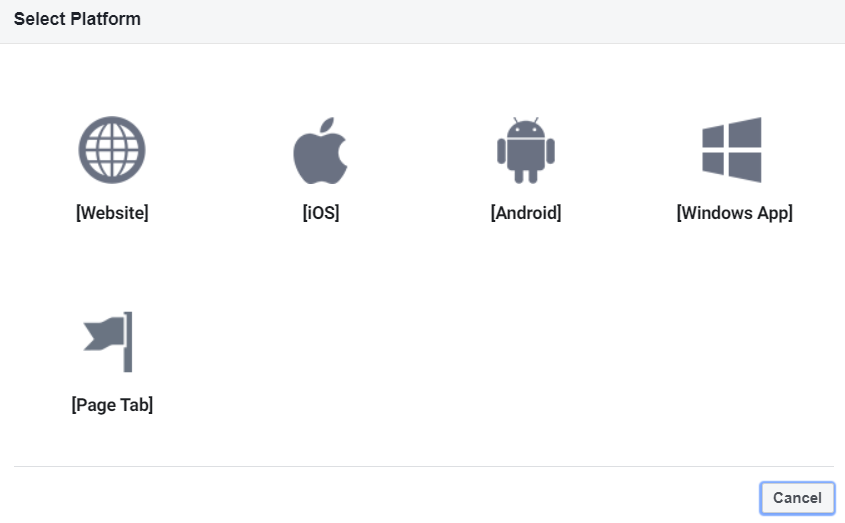
- For iOS – the same.
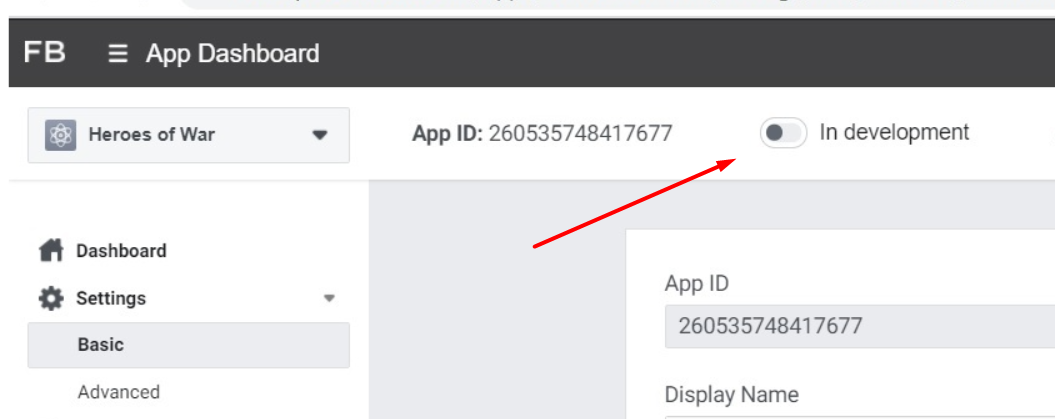
- Once you have filled in all the data, enable your app from development mode to active status, this makes your app live and available to everyone:
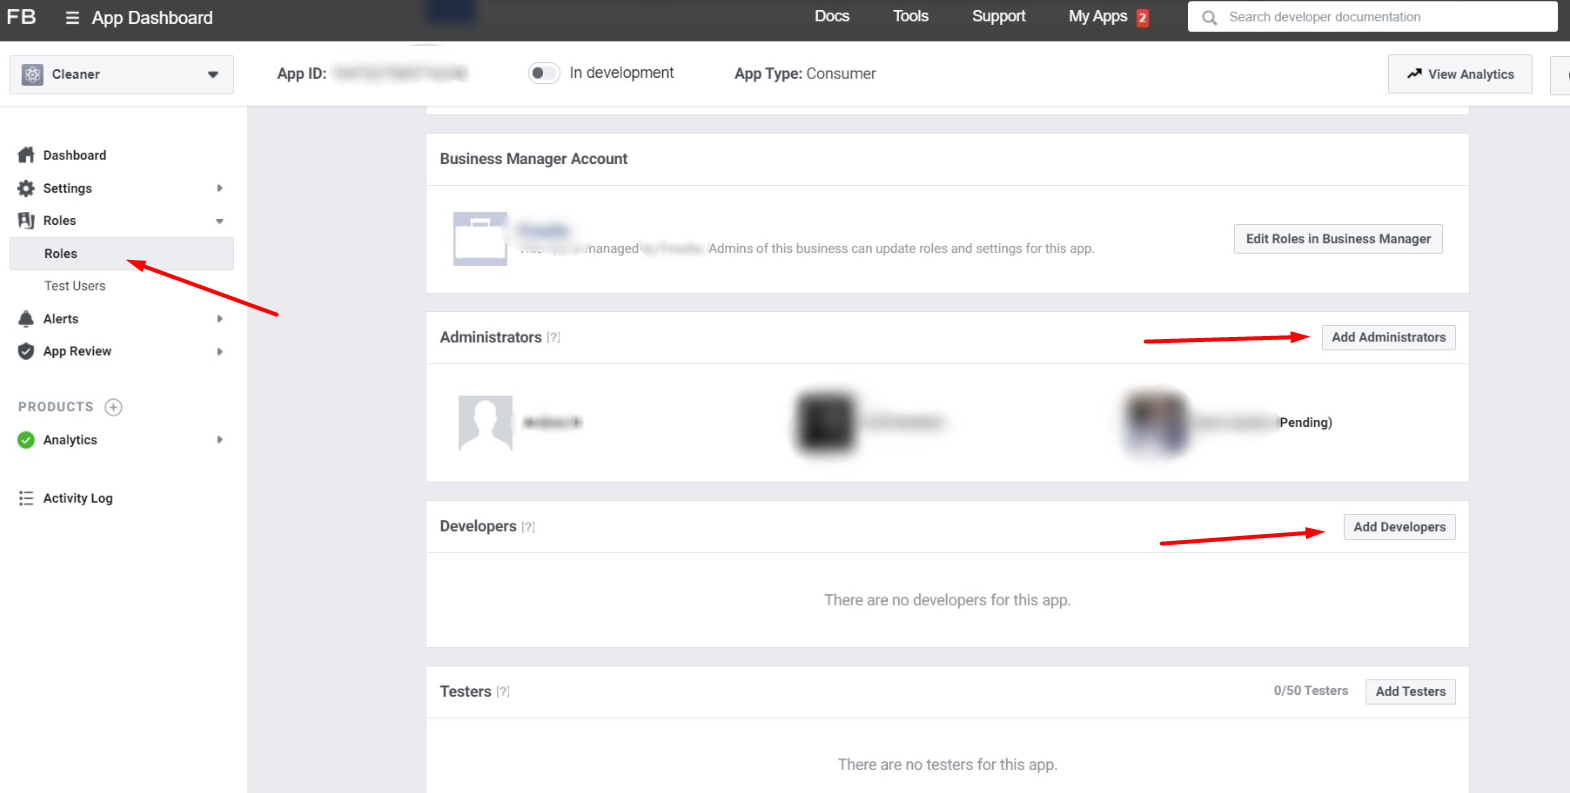
- To give the app access to other people and business accounts go to Roles – Roles and click on corresponding buttons (add administrators, add developers, etc.):
Checkpoint 2: Integrate Facebook SDK
Please use the detailed Facebook guide – APIs and SDKs – Graph API
Checkpoint 3: Setting Up Facebook Events
Please make sure that you implement all the necessary events into Facebook Analytics. Please check out this guide https://developers.facebook.com/docs/app-events/
The more events you set up, the better the performance analytics can be. The most important events need to be set up as Standard so that Facebook can optimize their ad campaigns for getting more purchases. Custom events are auxiliary: we are able to see the stats but cannot optimize for them so we can only view the results for them. It is also advisable to set up the transfer of revenue to Facebook, so that we can see the payback from in-apps.
The REQUIRED MINIMUM OF EVENTS
- PURCHASE (Standard) – if you have in-app purchases
- ADVIEW (Standard) – if you have ads
- TUTORIAL (Standard) – if you have a tutorial
Checkpoint 4: Purchase Revenue Verification
Please, make sure that you verify the purchase revenue with Apple Appstore/Google Play console so that the revenue value shown in Facebook Analytics is real.
Simply go through the steps here:
For Android https://developers.facebook.com/docs/app-events/getting-started-app-events-android/verification/
For iOS
https://developers.facebook.com/docs/app-events/getting-started-app-events-ios/app-shared-secret


